Check the location
Use a strong, dry, accessible mounting surface. Keep clear of standing water, likely impact and trip hazards.
⚡ ZVOLTA HOST MANUAL
A practical guide for Zvolta hosts: install your charger, connect it to the network, complete commissioning, and manage it day to day.
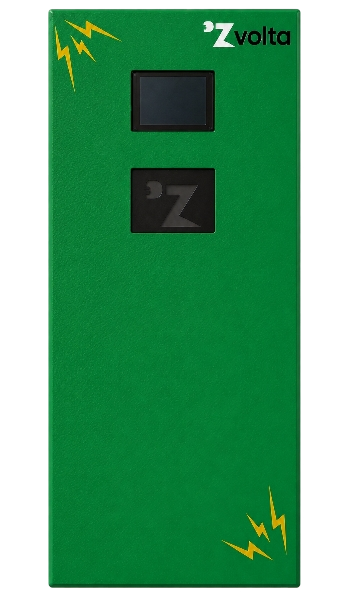
01 · CHARGER GUIDE
Select the charger installed at your location to review its specifications and site requirements.
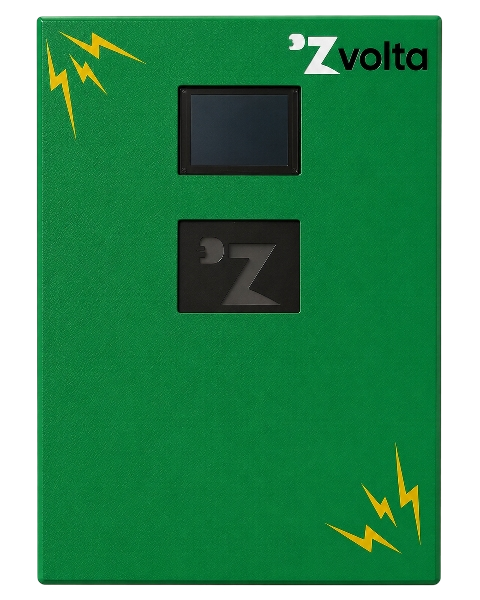
Universal AC socket
ZVACS16-3K3-25-03
Compact, universal charging for electric two- and three-wheelers and compatible EVs at homes, shops and smaller workplaces.
02 · INSTALLATION
A qualified electrician or Zvolta-approved installation partner must complete all electrical work.
Use a strong, dry, accessible mounting surface. Keep clear of standing water, likely impact and trip hazards.
Provide a dedicated single-phase 230V AC circuit rated for the selected charger capacity.
Red: Live. Blue: Neutral. Yellow/Green: Earth/Ground. Isolate supply before all electrical work.
Confirm reliable Wi-Fi coverage or GSM signal at the charger’s exact final position.
7.0 kVA SITE REQUIREMENT
Before installing the 7.0 kVA charger, verify earth continuity, correct termination and suitability of the dedicated 32A circuit. Do not proceed if earthing cannot be verified.
03 · WI-FI COMMISSIONING
Use this installer-only process after completing the electrical connection and powering on the charger.
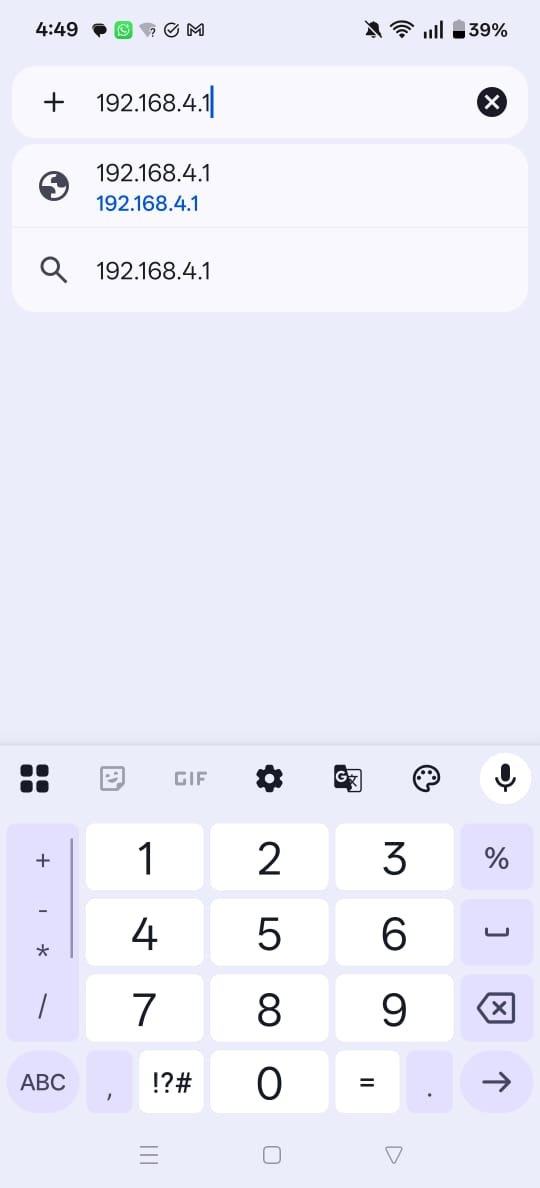
After the electrical connection is complete and the charger is powered on, open Wi-Fi settings on your phone and join the temporary network named similar to ZVOLTA-144EF9.
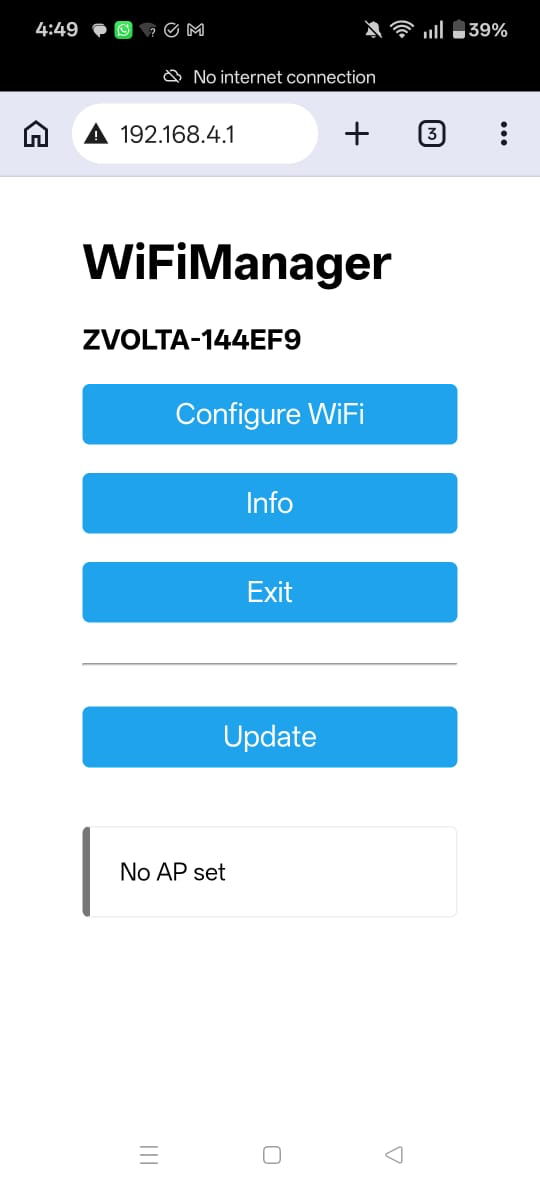
Your phone may show ‘No internet connection’—this is expected. Open a browser, enter 192.168.4.1, then select Configure WiFi.
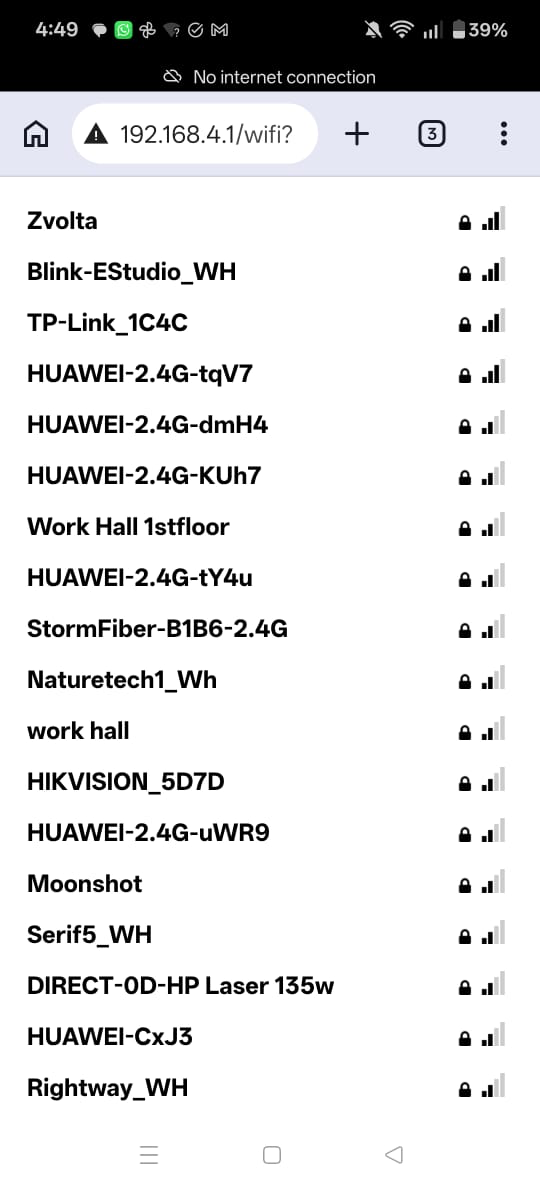
Select the Wi-Fi network that will provide stable coverage at the charger’s final installation location.
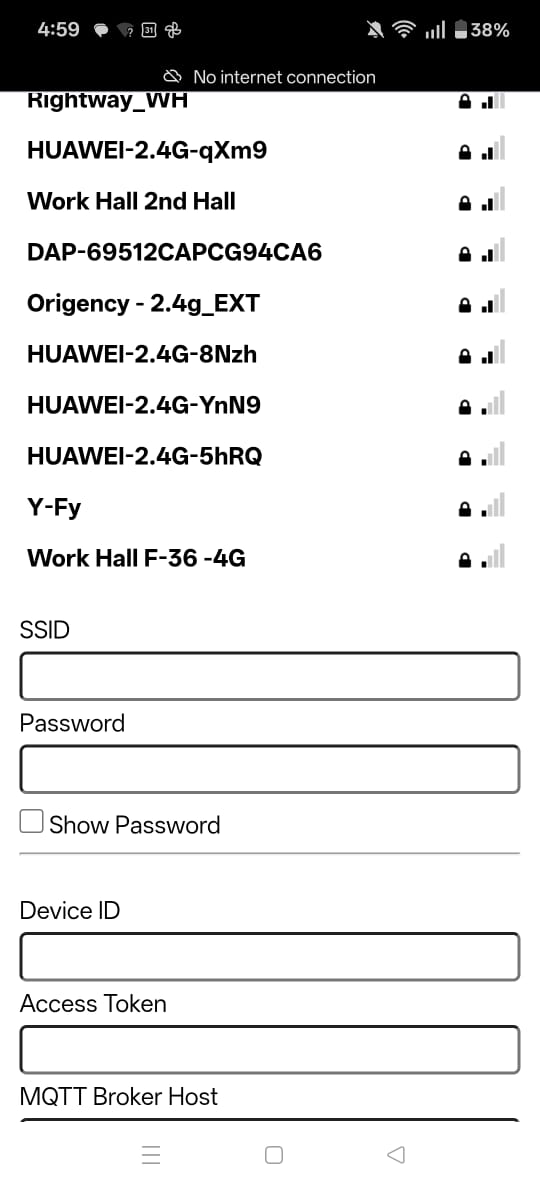
Enter SSID (the Wi-Fi name) and Password (the Wi-Fi password). Do not edit Device ID, Access Token, MQTT fields, GSM APN, or charger capacity unless instructed by Zvolta.
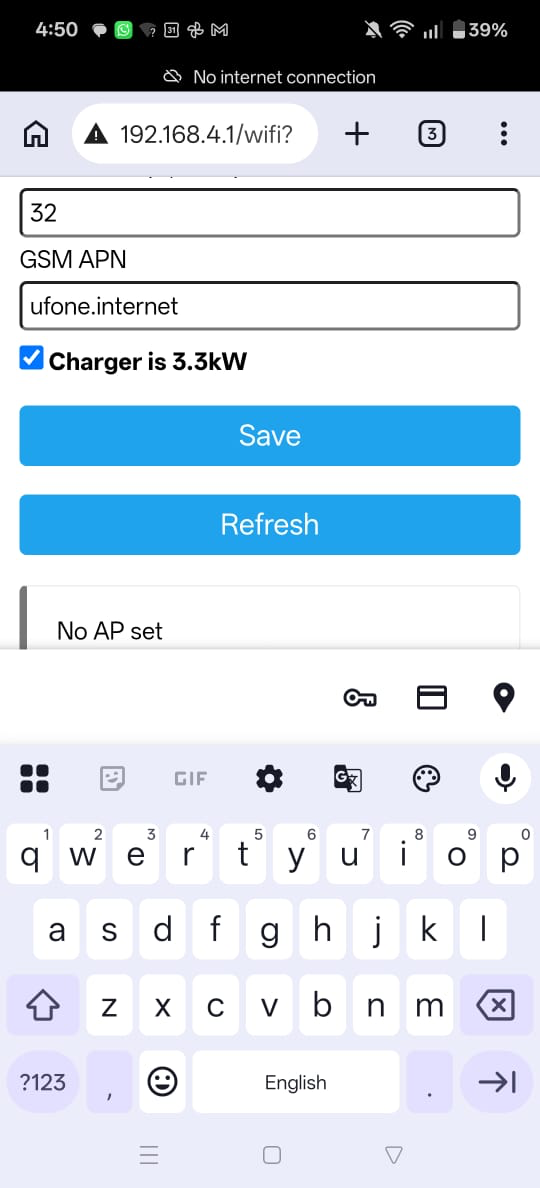
Press Save. Wait for the charger to reconnect and confirm it appears online on the Zvolta platform before handover.
FINAL COMMISSIONING
04 · DAILY OPERATIONS
ZVOLTA CUSTOMER APP
ZVOLTA PARTNER PORTAL
05 · SUPPORT
Do not use a charger that has visible damage, water ingress, a damaged cable, loose connections or an unresolved fault message.
Contact support →